Use of heat shrink tubes: protection against environmental effects

The characteristic of heat shrink tubes, as the name suggests, is that the diameter of the tube can be reduced by exposing it to heat, i.e. it shrinks. This property makes it very a versatile tool, not to mention the fact that it is very easy and quick to use. In this post, we'll look at what heat shrink tubes are and what they can be used for!
What is a heat shrink tube?
A heat shrink tube, due to its reduced diameter when heated, takes the shape of the object, forms a protective shell, and provides insulation. It is important to note that only the diameter of the tube shrinks, the length does not change, so it is possible to shrink it onto the conductor, almost coating it.
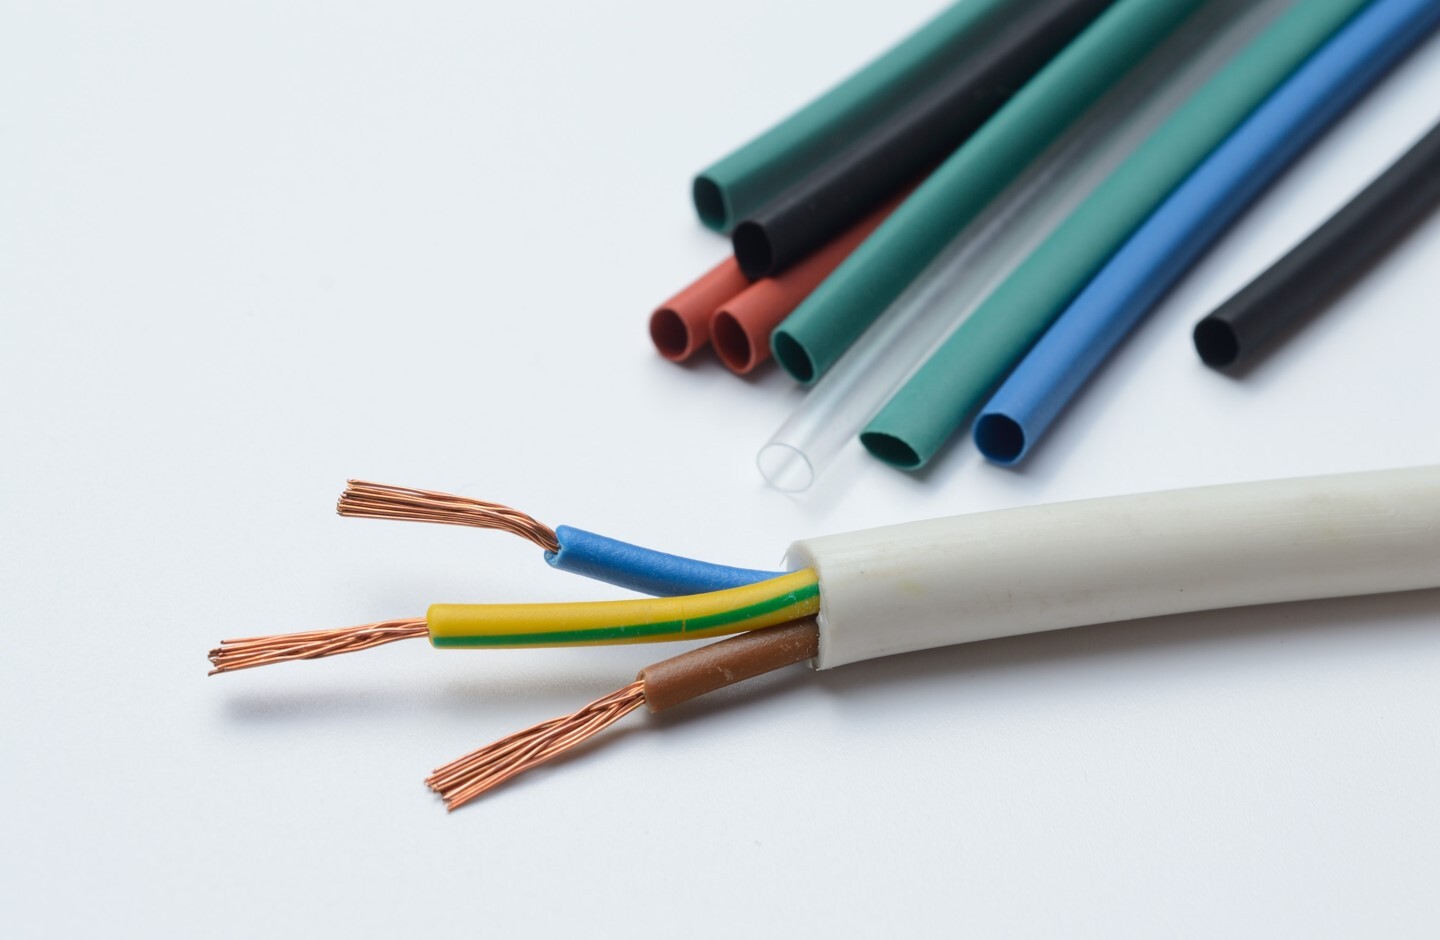
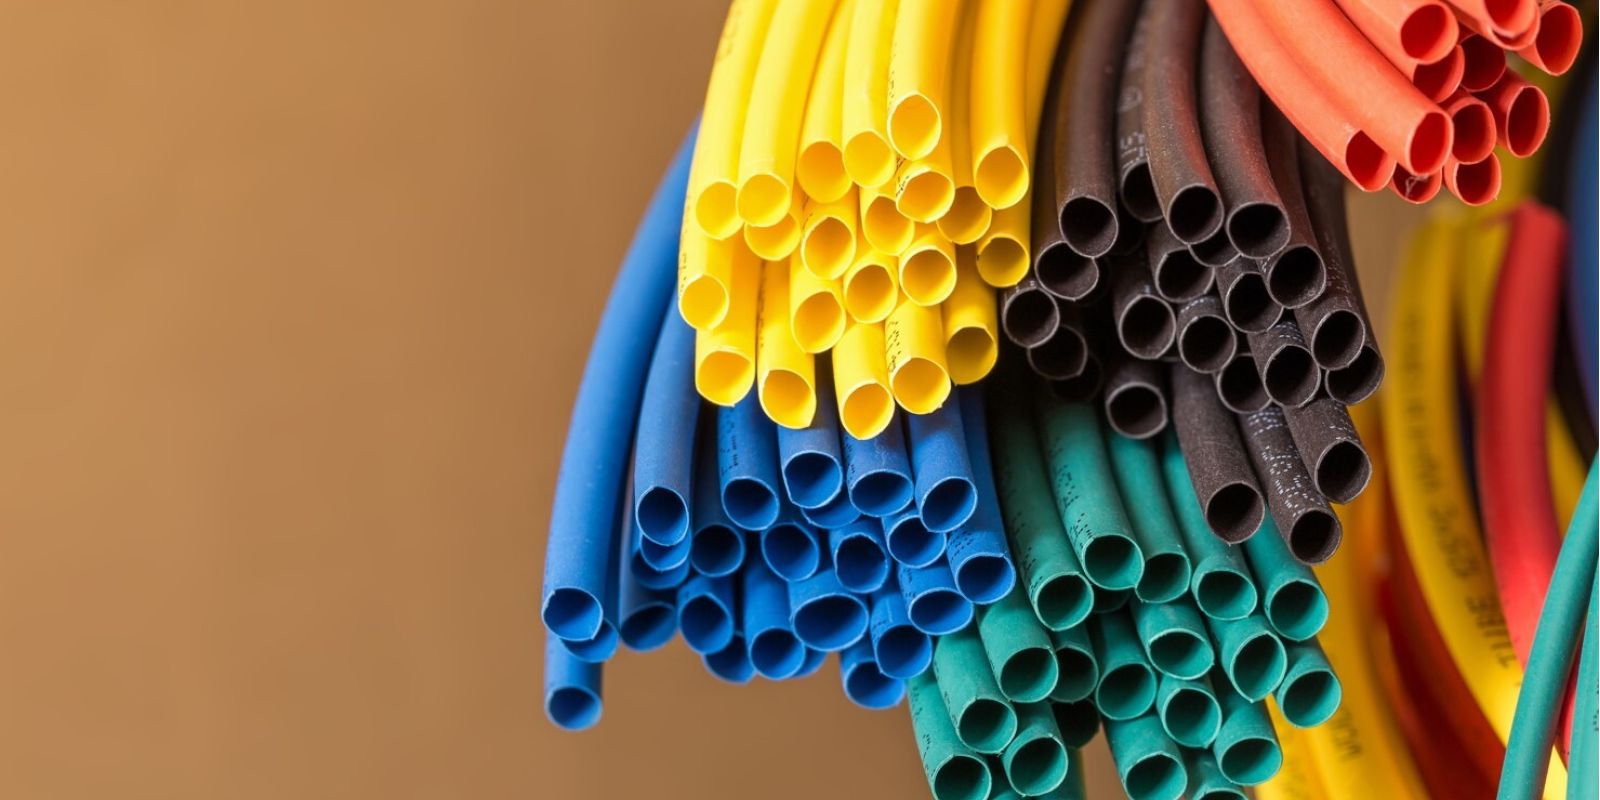
Heat shrink tubing was invented in 1964 by Raychem Corporation and has been used for nearly 60 years to insulate electrical conductors and increase wear resistance, repair insulation damage, secure conductors in bundles and insulate contacts and connectors. As it comes in a variety of colours, it is an excellent way of marking things, for example, to distinguish one wire from another.
Heat shrink tubes are always made of a thermoplastic material, such as PVC, fluoropolymer (e.g. PTFE, Kynar, FEP), polyolefin, neoprene, Viton or even silicone elastomer. During the manufacturing process, the properties of the material are adjusted using various additives. For example, if it is used outdoors, it is treated with a UV stabiliser to prevent damage from radiation.
Types of heat shrink tubes
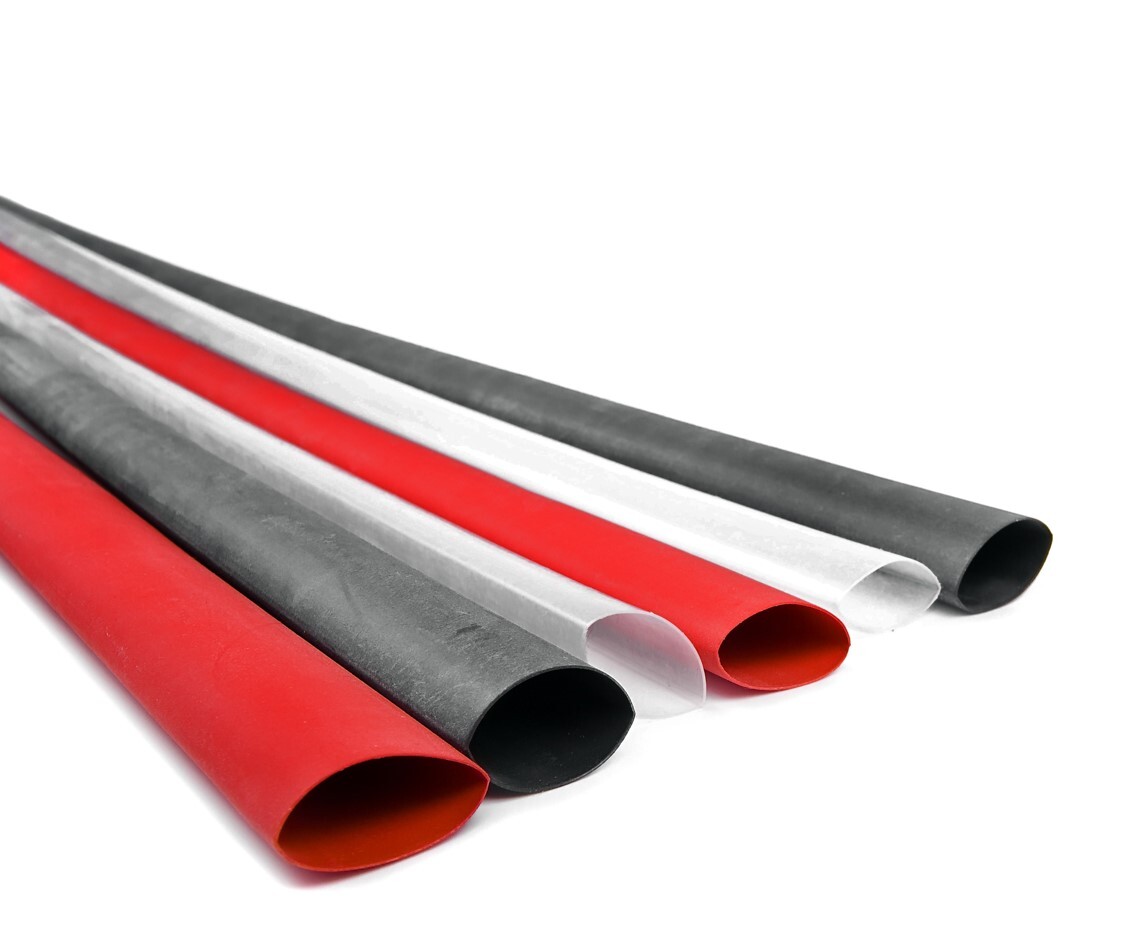
Heat shrink tubes can be classified according to their wall thickness and rigidity. On this basis, there are thin-walled flexible heat shrink tubes, thick-walled rigid heat shrink tubes and resin heat shrink tubes.
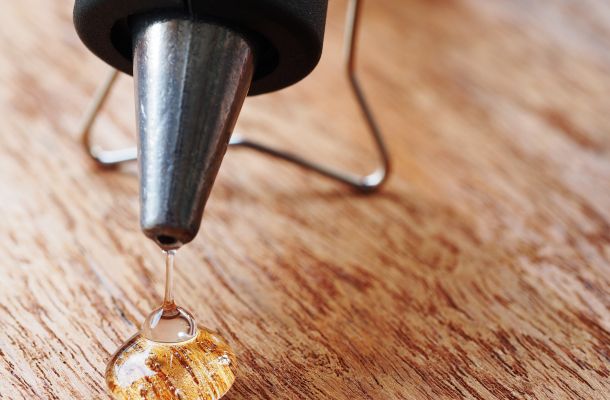
Flexible tubes are made of polyethene, are not fusible and can shrink very quickly, making them particularly useful in situations where the coated material must remain flexible. The rigid versions do not melt, do not crack and are extremely robust, so they can be used outdoors. Resin heat shrink tubing is the strongest version and can provide a high level of protection against external harmful effects. This means that the inner wall of the heat shrink tube has an extra layer of resin which melts and adheres to the surface.
It is important to note that there are cold shrink tube options too, in which case no heat is needed to reduce the diameter of the tube. This works by shrinking the pipe onto the conductor by pulling out an internal plastic retaining spiral.
Flanker offers a wide range of shrink tubes. For example, there is thin-wall shrink tubing, cold shrink tubing, hot heat shrink tubing and thin-wall glueless shrink tubing.
The tubes are usually available in mixed packs, i.e. different sizes can be ordered at the same time.
How is heat shrink tubing made?
Additives such as colourants and stabilisers are added to the base material. A starting tube is created, extruded from the base material, and then cross-linked by an electron beam. The tube is heated above the crystalline melting point of the polymer and its diameter is modified. It is then cooled. The point is that cross-linking creates a kind of "memory" so that when the user heats the material while using the shrink tube, it can shrink back to its original extruded size.
The extent to which a shrink tube can shrink depends on the material and additives, usually in the range of 1:2 to 1:4.
Use of the heat shrink tubing
A good quality heat shrink tube ensures coated materials are resistant to environmental, chemical, mechanical and electrical external effects.
The use of heat shrink tubing is quite simple for professionals and non-professional users alike. Heat, i.e. warm air, is needed to perform the shrinking process, and this can be provided by a heat reflector, a heating cabinet, a heat gun or even an infrared heater. If you don't have one of these to hand, a lighter may do the trick, although it's not exactly a professional solution.
There are a few pitfalls in using a heat shrink tube, but one that can be missed is choosing the right size. On average, shrink tubes can shrink by 50%, meaning that if you choose too large a diameter, it won't be able to cover the surface.
You must heat the tube to at least 120 degrees Celsius, working from the centre towards the edges in a nice, even way so that the tube eventually coats the wire. That's it, and you're done insulating the wire.
Contact Flanker for more advice! Look around our webshop and choose from a selection of quality products!
More articles
Flanker Plusz Kft.
Contact Details
Boti Street, 100.


