Window filming at home: a step-by-step guide
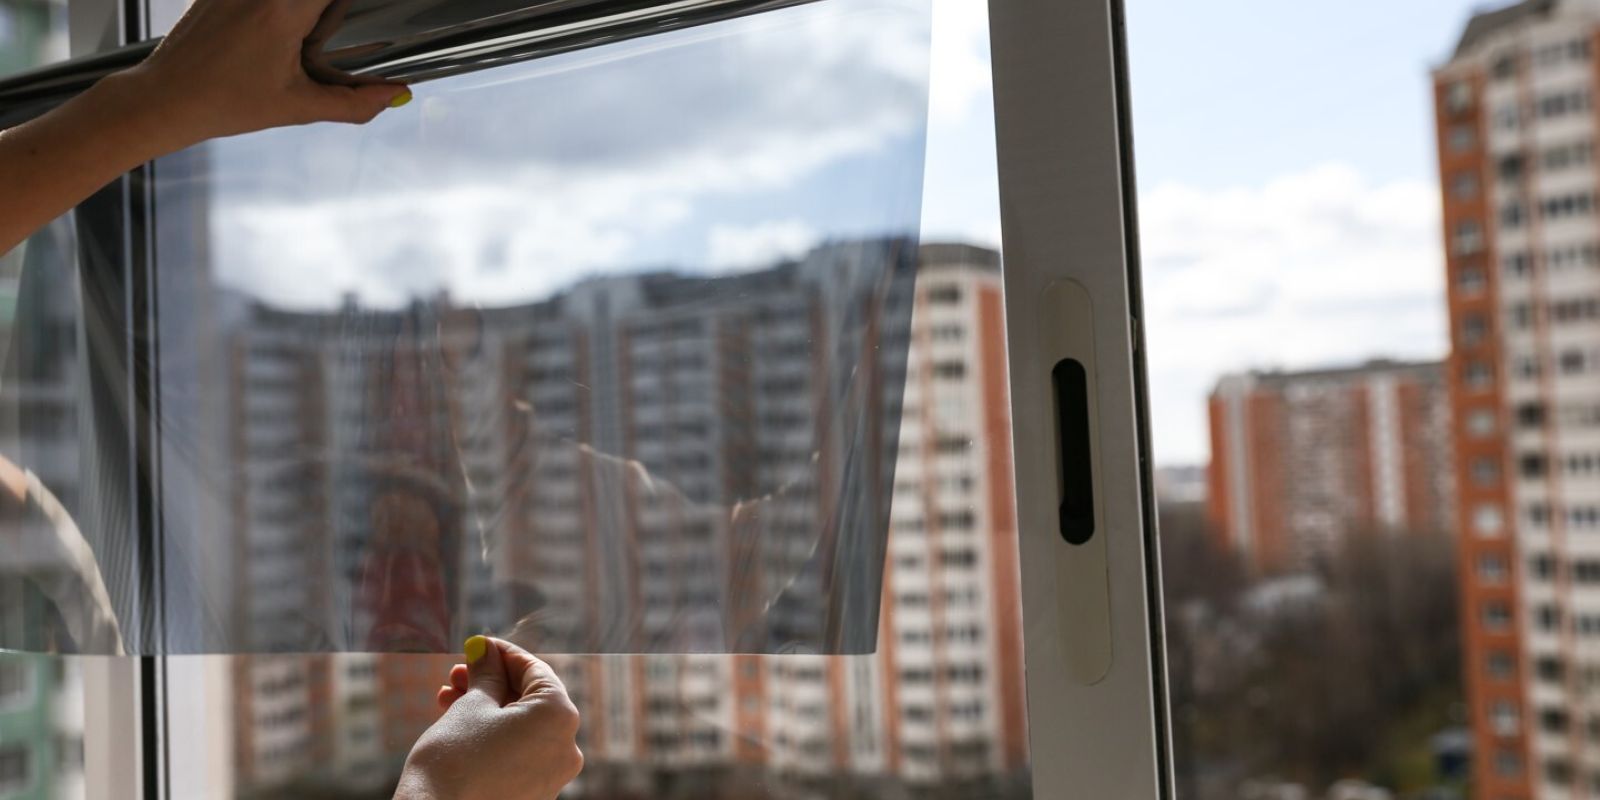

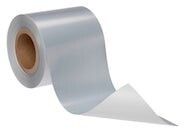
Window film is used, among other things, to decorate and protect glass surfaces. Its great advantage is that it can be applied very quickly, easily and simply, even by hand. In this article, we will show you how to apply window film at home!
What is window film for?
Window film can have many different functions, depending on the type and colour of the film. Some people use it for decorative purposes on the surface of the window or glass, others to prevent people from seeing through the glass into the room or car. Shading is also achievable through applying films.
The film or foil can be applied to any kind of glass, whether it's a window in a room, a shop window or even a partition wall. Special types of window film are those designed specifically for cars, read more about them here!
Window films can filter out a good 85% of UV rays, and some types are also shading, which helps to keep the space they enclose from getting hot.
The film is hard-wearing and long-lasting, so it will remain on the surface for up to 10 years. It is waterproof so it does not get wet and the surface is easy to clean. It is important to note that normal window film is not the same as safety film, the former is an aesthetic plus, the latter also protects against breakage.
Window filming at home
Window filming is an easy DIY operation, all you need is a tape measure, scissors, a trowel, and some water. Let's look at the process step by step!
Step zero
The first and most important thing to do before you start with the foil is to clean the surface to be foiled. The window or glass surface must be free of dust, dirt and greasy fingerprints, as this will affect how well the film will adhere.
Step one: preparation
Cut a piece of foil approximately as big as you need. You don't have to be exact, but make sure you don't cut out a smaller size. Once you have the foil in your hand, use water to wet the surface of the glass. The easiest way to achieve this is to use a spray bottle.
Step two: fitting
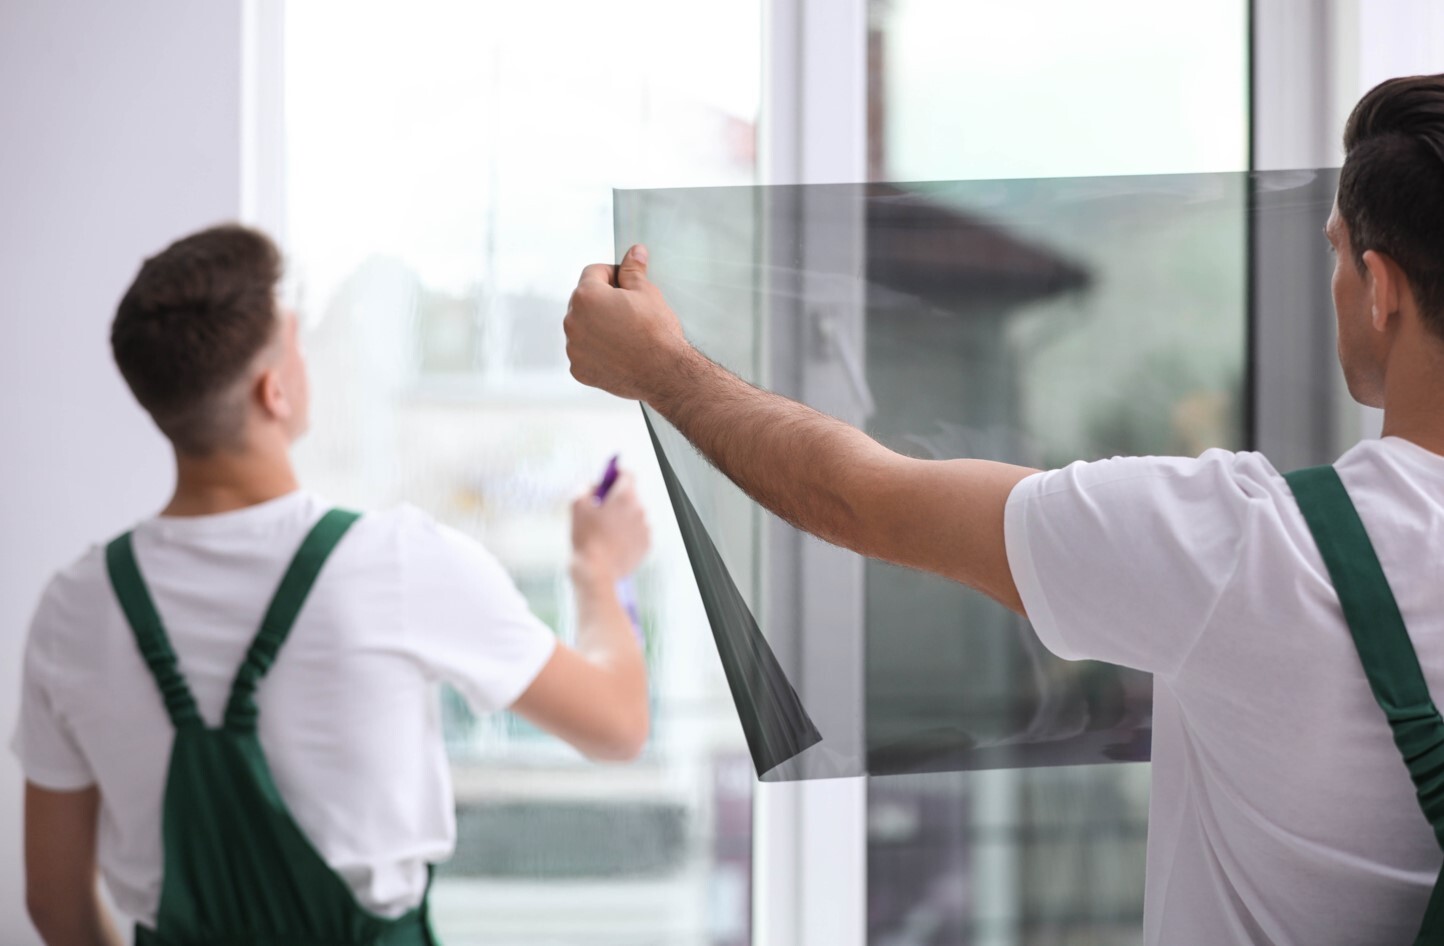
Next, remove the protective layer of self-adhesive film and press it against the glass surface. When applying the film, be careful not to let it slip! Find its position and wet the other side of the film while you are doing this, so that smoothing will be much easier.
Step three: smoothing
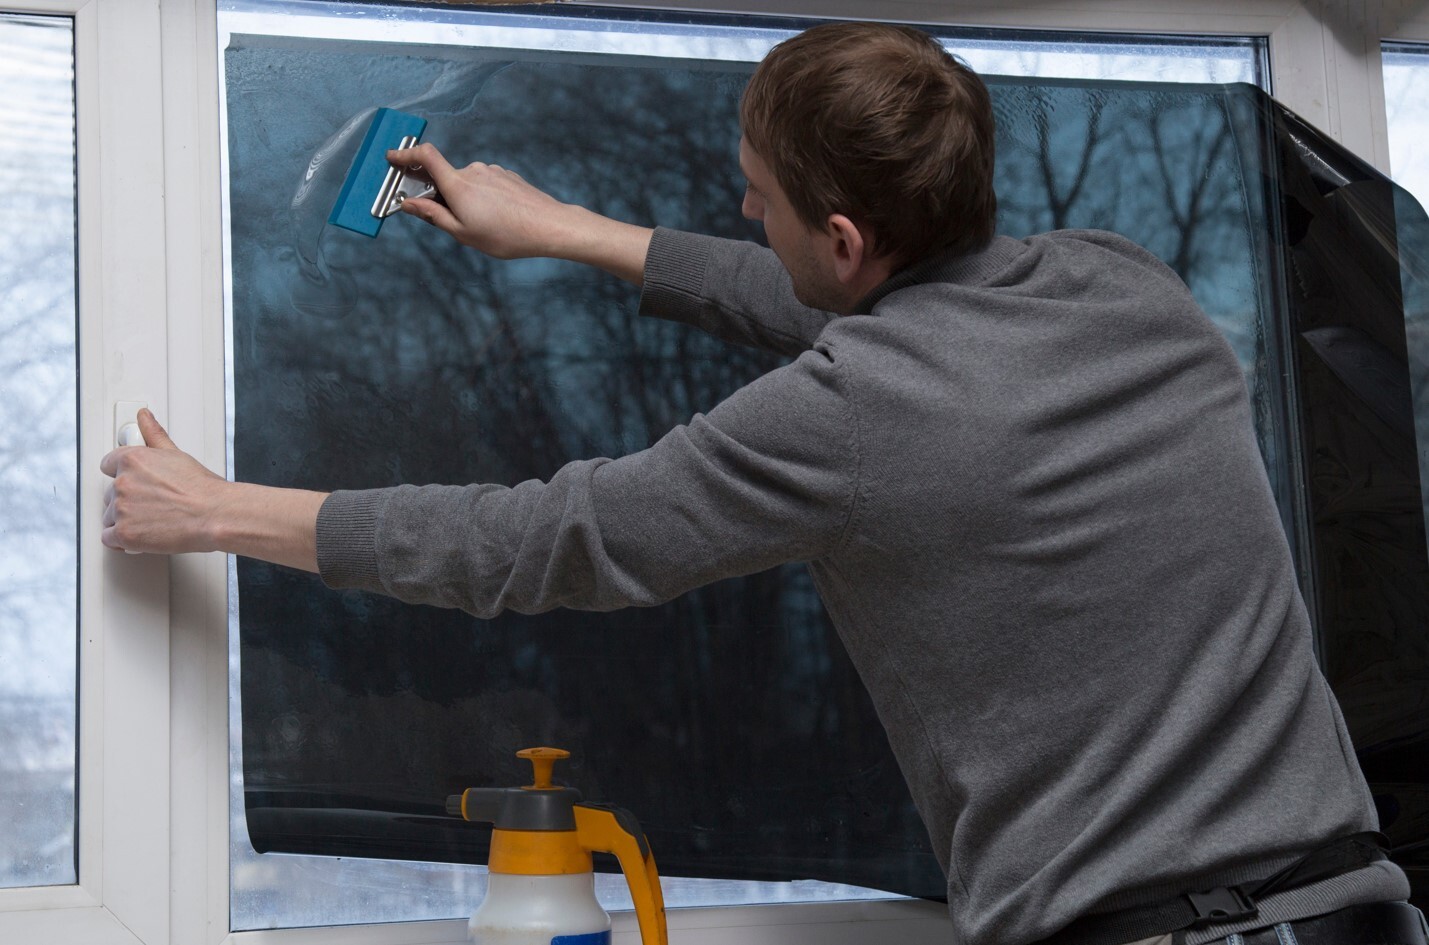
Once the self-adhesive film has been applied, the next step is to fix it, i.e. smooth it down, just like you would with wallpaper. This should be done using a trowel, which can be a window sander or any other tool that can be used to smooth the film. The main thing is to remove any air, bubbles or unevenness. It's a good idea to move the trowel from the centre outwards, slowly, to make sure all air bubbles are removed.
Step four: shaping
Once the foil is stable, you're almost done. What you still need to do is to remove any excess using a scalpel or wallpaper cutter. If you need to, use a ruler or straightedge to make it straight.
Step five: cleaning
Window filming is a framing process at home, so start with cleaning and finish with cleaning. Once the window film is applied and cut to size, there's nothing left to do but clean the surface.
Get everything you need for window filming from Flanker! Check out our online shop!
More articles
Flanker Plusz Kft.
Contact Details
Boti Street, 100.


