Tools for hand sanding: using the sanding sponge

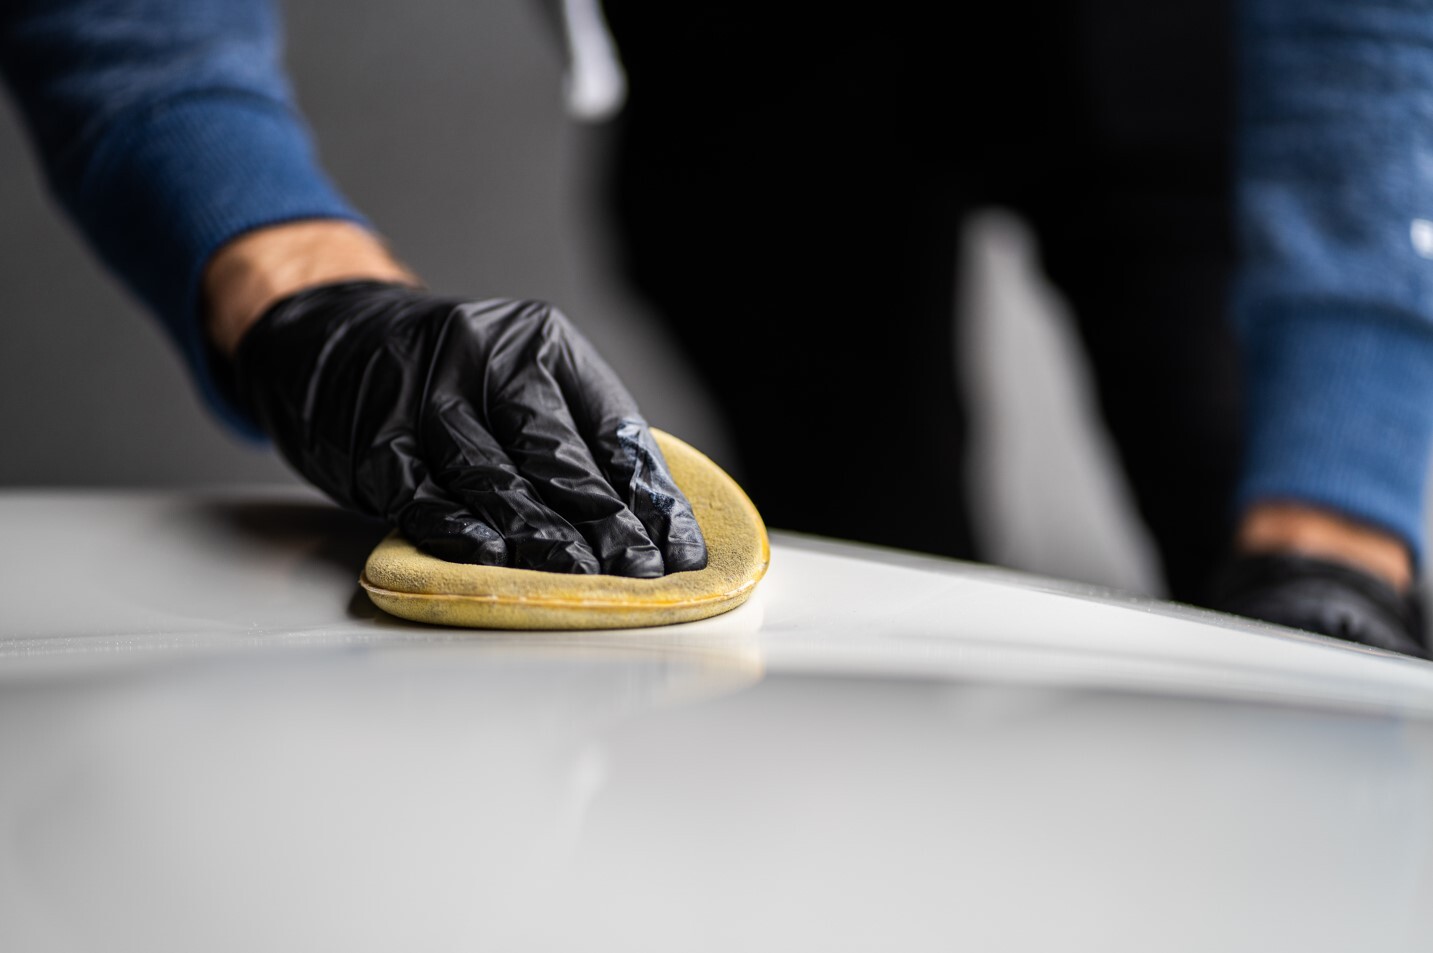
One of the easiest ways to smooth surfaces is to use a sanding sponge. Hard-to-clean places are easily reached, and gliding and polishing are a breeze. Let's see what you need to know about hand sanding tools and sanding sponges!

Hand sanding

Surface sanding can be accomplished by using specific machines or our hands. Usually, the latter is chosen when the surface is jagged or small and difficult to access. This method is labour-intensive, but it is more cost-effective than machine sanding.

Hand sanding can be done in a variety of ways, using a selection of tools. The most common of these are described below.

using the sanding sponge

Simple and great solution: sanding hand pads

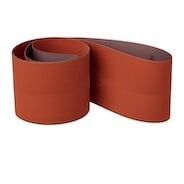
Hand pads are very common and easy to use and can be bought in rolls or cut into A4 pieces almost anywhere, but you're sure to find them on the shelves of a supermarket. The hand pads’ base, on which the sanding grains are placed, can be made of paper or canvas. The size of the grains ranges from P40 to P240.

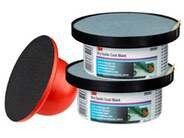
A similar, but more robust solution is the use of sanding boards or hand blocks. The same coiled abrasive material used for vibratory sanders can be used for these, which is more durable. Cut a piece of the roll of the right size with a small margin, fix it and you're ready to work!

Universal metal sponges for all situations

Metal sponges have a wide range of uses, suitable for working on any metal including softer ones. However, they are not recommended for wood, as the metal fibres tend to break up and get stuck in the wood, damaging its quality.

The degree of fineness of metal sponges is expressed by numbers on a scale of 5. It is important to wear protective gloves when working with metal sponges.

The practical plastic abrasive cloth

The plastic abrasive cloth is loose, and the abrasive particles adhere to these loose fibres. Thanks to its construction, it adapts easily to the shape of the surface and bends well, so it can be used widely. It can be used for both coarse and fine sanding.

Plastic abrasive cloth can be purchased in A4 sheets but is also made into abrasive discs. The material does not clog due to the loose fibres and is easy to clean with running water.

Smooth surface with waterproof papers

Waterproof papers are used when the surface has already been primed, painted, or treated with a substance. They can be used on a wetted surface, which is made possible by an elastic resin layer between the backing paper and the abrasive particles. This has the advantage that the abrasive surface does not clog, and the abraded surface is less likely to be damaged. By using this type of sander, smooth surfaces can be produced, provided the material can withstand the wet medium.

Efficient fine sanding with a sanding sponge

Sanding sponges and sanding blocks are very simple and effective aids when it comes to sanding. They can be used to get to places that are difficult to reach, with edges, corners, and grooves. They are the most practical tools for hand sanding and can be used to easily polish rounded edges, thanks to the fact that the abrasive on the sponge is shape-following, i.e. it follows the curve of the surface.

using the sanding sponge

They can work efficiently because they have an abrasive surface on both sides of the abrasive sponge and all 4 sides of the abrasive lap. They are available in different grades of fineness, for example, fine abrasive, medium abrasive, superfine abrasive, and ultrafine abrasive sponges.

The process of sanding is not one that most people prefer, as it is quite messy, not to mention that using the wrong abrasive can make the whole process an agony. To avoid this, it is recommended to use sanding stones and sanding sponges that can be used to get the job done quickly and efficiently.

Click here to see what products we offer for hand sanding at Flanker!

  • Hits: 602

Window film for cars and buildings

In the heat of summer, people try to avoid as much as possible from the sun's rays, even when they are outdoors, in the car or their home. The most effective way to protect yourself from the sun is to use window film on the surface of the glass. This layer is excellent in terms of light transmission and can also help with UV protection and solar control. Window film is most applied to the glass surfaces of vehicles and buildings. In this post, we've summarised what you need to know about these products.

What is the window film?

Window film is a thin layer that can be quickly and easily applied to the glass surface. What are the reasons for choosing window filming?

  • Protection against excessive heat: sunrays can heat spaces in a matter of seconds. In the case of a property, this heat can be very uncomfortable, but in the case of a car, it can be life-threatening. Window film solutions help to slow down the natural process.
  • UV protection: glass film fitted to windows can also filter out a high percentage of the sun's harmful rays, the so-called UV. It is important to note that not only dark-coloured films are effective in protecting against UV, but also transparent ones!
  • Protection from spying eyes: darkened and tinted films prevent unwanted attention. The products prevent unauthorised people from seeing what's behind the glass, and potentially avoid crimes.
  • The design comes first: for both buildings and cars, aesthetic window filming can add a lot to the design and look of the surfaces.

Window film for vehicles

In Hungary, the use of retrofit window film is regulated by law. According to the regulations, only films that have an H-approval ID and a type-approval certificate can be used. Films with a light transmission of at least 70% may be applied to the glass surfaces in front of the B-pillar, but there is no such restriction for the glass behind the pillar.

window film

If the car and window film is not fitted correctly, the vehicle will fail the road tests and the film must be removed. Tinting is therefore legal only if it satisfies all requirements.

Window film for buildings

The blessed effect of the film is that it absorbs sunlight, slows down the heat-up of the room and provides privacy, which is not only useful for cars but also for buildings. A window's job is basically to let the sunlight in and provide a clear view, but it's also good to make sure that it can block unwanted attention from the outside. Window film can be a great solution, as you can see outwards but not inwards. It is important to remember that specific light conditions will affect transparency!

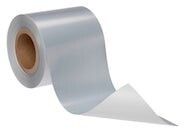
Window films for buildings are available in different types, for example, some are mirrored, and others are tinted. These films reflect more than 80% of sunlight and 99% of UV light. This also means that you can protect your furnishing from harmful rays.

window film

The window film is applied using adhesive bonding. The first step is to clean the window surface thoroughly. This will ensure that the film can be applied as neatly as possible. When sizing, the window glass must be measured accurately and then the desired size can be cut out with a small margin. After cutting, the window can be fitted. This is done by removing the protective film from the foil and then wetting the surface and the foil to make positioning easier. First, the edges are fitted and then, using a trowel, the water and bubbles are squeezed out from under the film, working from the centre outwards. Finally, with the use of a scalpel, the remaining surplus can be easily removed.

Window film is a great way to provide heat and privacy protection easily and simply. A wide range of window films is available in the Flanker webshop. Click here to browse the products!

  • Hits: 834

Sorbents: Working hard for a clean and safe environment

A sorbent is a water softener that can be used to clean up spills of hazardous substances so that they cannot cause damage to the environment or personal injury. In this post, we have collected information on the different types of sorbents and when to use them. Let's see how to get your work area clean after a spill!

What is a sorbent?

The industrial sorbent is designed to absorb spilt liquids and hazardous substances, thus helping to avoid accidents and property damage. In general, it is very light in weight and can absorb liquids very quickly. Let's see what types of sorbents exist!

sorbent

Types of sorbents according to their material

In terms of consistency, there are two main groups of sorbents: textile sorbents and granulates. The main ingredient of textile sorbents is polypropylene, which can bind large amounts of liquid by the fibres. They have a very fast dissolving capacity, which makes them suitable for large volumes of dirt and for preventing leaks.

Granulates are typically made of various minerals and can be used for small to medium spills. They are highly effective on porous and uneven surfaces and in situations where spillage is difficult to reach. The advantage of granules is that they can be used for all types of liquids, but they have the disadvantage that they must be deactivated, in a safe way, after they have absorbed the liquid. In the case of textile sorbents, this means simply throwing them away in the appropriate waste bin, but the granules need to be swept up and vacuumed.

Types of sorbents by absorbable material

In the case of textile sorbents, three further types can be defined according to the material they are intended to absorb. According to this differentiation, there are general, chemical-resistant, and oil-sorbent solutions.

The general sorbent

General sorbents are widely used, but it is important to be aware that if you are dealing with a very dangerous substance, you may want to choose a different type of sorbent. It can also be used for water, weaker acids and oily liquids, although in the latter case the result may not be 100%.

The oil sorbent

For oil spills, it is advisable to use special oil sorbents, which are highly effective at soaking up even the most unpleasant-looking oil spills.

The chemical-resistant sorbent

Chemical-resistant sorbents are specifically designed to soak up dangerous, corrosive substances and poisons, and can be used to remove more aggressive substances with great safety. However, it must be noted that in the unfortunate event of a spillage of a hazardous substance, neutralisation must be carried out first, followed by the clean-up.

The signalling of the sorbents

Sorbents are marked with different lettering to help you find the right type for your situation. The M symbol, for example, indicates that the sorbent has a single layer of absorbent material, but is not resistant to various mechanical stresses. CMC, on the other hand, is much more robust, with a protective layer on both sides of the half-coat. SMS is the most resistant of the sorbents to damage but at the cost of a slightly slower speed of digestion.

sorbent

In what forms sorbent are available?

Sorbents are available in a variety of forms, including mats, cushions, sorbent sheets and so-called oil sorbent slings. Mini-Booms, for example, are excellent for surrounding barrels with the sorbent, but also for delimiting dirt. Furthermore, pillows prove to be the best choice when it comes to removing spillages under machinery.

What are the criteria for choosing a sorbent?

Choosing the right sorbent is not so easy at first, mainly because of the abundant supply. First, you need to consider what liquids you will be using it for, how uneven the terrain is and whether you need a faster or more resistant material.

Flanker has been supplying products to the printing and paper, packaging, automotive and electronics industries for over 20 years. Should you be in doubt about choosing the right type of sorbent, do not hesitate to contact us. Click here to browse our webshop!

  • Hits: 503

Cleanroom: spotless cleanliness in any given area

A cleanroom is an area with the lowest possible levels of gases, dust particles, micro-organisms, and pollutants in the air. It is a sterile space in which both temperature and humidity are controlled. Here are the most important things to know about a cleanroom.

Cleanroom standards

Cleanroom standards aim to remove as many contaminants from the air as possible. However, this cannot be achieved 100% of the time, which is why the ISO classification system had been introduced, which is based on the number of particles per cubic metre in the cleanroom. Let's look at the most common standards!

cleanroom

US FED STD 209E

This was the first standard for a cleanroom, set in the USA. Although it was later withdrawn, many large companies still follow it today.

ISO 14644-1

ISO 14644-1 is the most popular of the modern cleanroom standards. This standard not only contains requirements for the design of the space but also guidelines for its creation and use.

GMP-EU

This standard examines the quality of cleanroom space in practice, i.e. during the implementation of defined methods and procedures. They are therefore very strict guidelines to be followed.

In which sectors is a cleanroom relevant?

There are manufacturing and research processes that demand impeccable purity, and even more! A sterile environment, free of all contaminants, dust, and organic matter. Without this, error-free production would be impossible.

The development of the cleanroom laboratory evolved out of the habits of the pharmaceutical and research sectors, where a completely clean and sterile space was first needed to carry out processes. Over time, however, other industries have emerged which have also required clean working areas. These include nanotechnology, hardware manufacturing, information technology, automotive component manufacturing, optics, space industry, the food industry and any other sector that requires a high degree of precision.

What contaminants can enter the working areas?

The source of contaminants can be almost anything that rotates in the air. It can be brought in by workers on their clothes, hair, or make-up. Sources can also include dirt on tools and pieces of equipment, fragments, and particles from packaging.

Finally, the room characteristics should also be mentioned. If the walls are full of cracks, paint is running off the walls, and the windows and doors do not close properly, the cleanliness of the room can be compromised.

How can a contamination-free space be created?

The heart and soul of a cleanroom is the aeration system. The air handling unit sucks air through the surface of the ventilation grille, cleans it with a HEPA filter and then returns the air to the cleanroom through the ceiling fan. This air replacement is carried out several times an hour to ensure that the particle count does not exceed a specified level.

The design also ensures that there is an as little surface area as possible where dust particles can get stuck. For example, curved profiles are placed in sharp corners so that dirt cannot gather and settle in the corner and is easier to clean.

In the case of a clean area, care must also be taken not only to create cleanliness but also to maintain it. Therefore, care should be taken at the entrance to keep dirt outside the door. Available from Flanker, the 3M™ Nomad™ 4300 Ultra Clean Cleanroom Sticky Mat is antimicrobial and multi-layered. As the name implies, the sticky surface does the cleaning, with one-half of the sticky mat adhering to the floor and the sticky top half removing dirt. Available in a range of sizes, there are water clear and blue sticky cleaning mats.

cleanroom

As described above, the source of the dirt is very often the employee, so people should only enter the cleanroom, if not the plant area, wearing protective clothing. Shoes and capes are a basic requirement in most cases, as is the requirement to wear clothing that covers the entire body. Hair nets, face masks and gloves are also compulsory in many places. Some protective clothing can be cleaned after use, but some must be thrown away. In most cases, access is through an airlock door.

Objects and equipment are moved through a material transfer box. These boxes are designed to have a door on each side, both to the clean room and to the outside. When inserting objects, care must be taken to ensure that only one door is open at any one time, so that the two spaces are not in direct contact.

The clean space is a complex environment that not only needs to be designed and constructed with specific considerations in mind but also requires great care in its use. Advanced equipment is used to ensure air quality and strict rules apply to the work processes in the cleanroom.

Flanker is a major partner of industrial operators. Whether in the printing, paper, packaging, electronics, or automotive industries, we offer high-quality solutions and products. Click here to browse our webshop!

  • Hits: 592

Window filming at home: a step-by-step guide

Window film is used, among other things, to decorate and protect glass surfaces. Its great advantage is that it can be applied very quickly, easily and simply, even by hand. In this article, we will show you how to apply window film at home!

What is window film for?

Window film can have many different functions, depending on the type and colour of the film. Some people use it for decorative purposes on the surface of the window or glass, others to prevent people from seeing through the glass into the room or car. Shading is also achievable through applying films.

The film or foil can be applied to any kind of glass, whether it's a window in a room, a shop window or even a partition wall. Special types of window film are those designed specifically for cars, read more about them here!

Window filming at home

Window films can filter out a good 85% of UV rays, and some types are also shading, which helps to keep the space they enclose from getting hot.

The film is hard-wearing and long-lasting, so it will remain on the surface for up to 10 years. It is waterproof so it does not get wet and the surface is easy to clean. It is important to note that normal window film is not the same as safety film, the former is an aesthetic plus, the latter also protects against breakage.

Window filming at home

Window filming is an easy DIY operation, all you need is a tape measure, scissors, a trowel, and some water. Let's look at the process step by step!

Step zero

The first and most important thing to do before you start with the foil is to clean the surface to be foiled. The window or glass surface must be free of dust, dirt and greasy fingerprints, as this will affect how well the film will adhere.

Step one: preparation

Cut a piece of foil approximately as big as you need. You don't have to be exact, but make sure you don't cut out a smaller size. Once you have the foil in your hand, use water to wet the surface of the glass. The easiest way to achieve this is to use a spray bottle.

Step two: fitting

Next, remove the protective layer of self-adhesive film and press it against the glass surface. When applying the film, be careful not to let it slip! Find its position and wet the other side of the film while you are doing this, so that smoothing will be much easier.

Window filming at home

Step three: smoothing

Once the self-adhesive film has been applied, the next step is to fix it, i.e. smooth it down, just like you would with wallpaper. This should be done using a trowel, which can be a window sander or any other tool that can be used to smooth the film. The main thing is to remove any air, bubbles or unevenness. It's a good idea to move the trowel from the centre outwards, slowly, to make sure all air bubbles are removed.

Step four: shaping

Once the foil is stable, you're almost done. What you still need to do is to remove any excess using a scalpel or wallpaper cutter. If you need to, use a ruler or straightedge to make it straight.

Step five: cleaning

Window filming is a framing process at home, so start with cleaning and finish with cleaning. Once the window film is applied and cut to size, there's nothing left to do but clean the surface.

Get everything you need for window filming from Flanker! Check out our online shop!


  • Hits: 582

© All Rights Reserved – Flanker Plusz Kft. | Site by Meraki